Pages

Showing posts with label technology. Show all posts

Sunday, May 21, 2017

Too Bright, Too Dark

The visible world around us is constantly changing. One second we may have the sun in our eyes, and another we're in a dark closet trying to find the light switch. Such fluctuations in brightness could have ended up being a serious problem for our vision if it weren't for a handy built-in feature: our eyes automatically adapt to the lighting conditions of the surrounding environment.

Most people are well aware that their pupils change size to handle lighting conditions. A larger pupil admits more light and makes the scene brighter, while a smaller pupil admits less light and makes the scene dimmer. This mechanism is fast and effective, and is controlled by the brain stem, which acts autonomously - you don't even have to think about it.

As useful as this type of adaptation may be, it has some limitations. For example, most artificial lighting is 20 times dimmer than the sun, while pupil dilation only brightens light by a factor of 4 (when compared with a fully constricted pupil). And then there are all those backlight situations - like when an unknown person is standing in front of a bright window, and you need to see whether it's a home intruder or a visiting friend. In short, pupil adjustment is insufficient. So what else do we have?

The answer: sensory adaptation. This term refers to the loss of sensitivity that comes after exposure to a stimulus, an ability that is actually shared by all of our senses. If you've ever looked for your glasses only to find them on your face, you've experienced the effects of sensory adaptation. It's useful because it eliminates old data so it doesn't obscure the new data (kind of like what Facebook does with old and new posts).

Our vision is also subject to sensory adaptation: try staring at the same point for 2 minutes, and everything will fade to the same shade of grey. This happens because the retina becomes desensitized to what it sees. Bright light causes the retina to become less sensitive, making the light appear dimmer. Dim light allows the retina to regain lost sensitivity, so the light seems brighter. In addition, different parts of the retina are affected independently, so while one object is darkened, an object right next to it could be brightened. Hence, the bright and dark areas of a scene are both made less extreme, so that the scene as a whole becomes easier to see.

There are two types of adaptation to light in vision, then. The first type affects the whole image, and is accomplished by pupil dilation/contraction. The second type can control different parts independently, and is accomplished by sensory adaptation.

***

What remains is to find a practical application. Obviously, photography is the place to go. A digital camera is very similar to an eye: both detect light, and both relay information to a central processor (whether a computer or a brain). One of the biggest differences between these two tools is the way they adapt to light.

Most cameras have an adjustable aperture. The aperture is the hole that light enters through. It usually contains a system of tiny fins which move to make the aperture larger or smaller, and are adjusted (often automatically) based on the brightness of the scene. This corresponds directly with the pupil in the human eye.

A camera can also adjust the exposure time, which is the amount of time that the shutter is open and light is permitted to enter into the camera. If the camera is digital, it can adjust the sensitivity of the sensor, which involves multiplying the data from the sensor by some numerical value. These mechanisms correspond partially with the second type of eye adaptation: they control the brightness (or, more properly, "exposure") of an image, but they cannot control parts separately. In other words, unlike the eye, a camera always adjusts the brightness of the whole photo equally.

This is actually a pretty big problem, because many photos end up looking completely different from reality. Next time you get the chance, try taking a photo of a person standing in front of a window. Visually, you will see both the person and the background, but the camera will either make the person a silhouette, or will wash out the background.

The solution is a technique called high-dynamic-range (HDR) imaging. In HDR imaging, multiple photos are taken with different exposures. Then, the best parts of each image are combined to form a single image that is more evenly exposed. Some people criticize HDR images for being artificial, but when done well, HDR images mimic human vision much better than normal photographs do.

As an illustration of this technique, I'll describe my process making an HDR image of a chapel at night. I started by taking these four images:


As you can see, the chapel is mostly washed out in the first image, but in the later images, the sky and the surrounding buildings look too dark. Using GIMP, I stacked the images, and used layer masks to make the images transparent based on brightness. The result was an image that showed detail on the chapel, without losing the surrounding buildings or the light on the clouds.


And that's it - a great image out of a number of okay photos. Kind of cool what you can do when you apply biology to technology, isn't it?


Saturday, July 2, 2016

Retractable Pen

The retractable pen is an interesting little device. You press a button, and the tip comes out. Press it again, and it does the opposite: the tip disappears back inside. How can the same action lead to different results?

In this post, I'm including a CGI animation I created using Blender. I actually modeled this pen in early 2012 (a little over 4 years ago); I recently fixed it up and re-rendered it.

A retractable pen has 5 main parts:
1. Frame
2. Thruster
3. Ink cartridge
4. Spring
5. Cam (a special mechanical piece; 1 or more is used)

The basic design is for the cam to rotate each time the pen clicker is pressed; the rotation allows for a pin (built into the frame) to slide into a different slot. Different slots have different lengths, and depending on the length of the slot, the ink cartridge will extend by a different amount.

There are many ways to work out the details, and the animation I created shows only one possibility. Of course, the design of the pen in the animation would not function well; the pin would snap off right away. I designed it this way to make it easier to see the mechanism; a stronger pin would obstruct the view.


New posts every month - subscribe for free!

Tuesday, May 24, 2016

Jelly Ball

One thing I enjoy when programming is to make weird interactive computer-generated objects. In this post, I'm showing you... a blob. To see the blob, simply click on the black box. The blob will immediately appear. Once you have the blob, you can drag it around with your mouse - just press down and move it around. When you let go, the blob will snap back with a little jiggle.


Click here!


There are a few things I'd like to point out about the blob:

First, when you stretch it, it actually gets narrower. When I designed this, I wanted it to shrink enough to look realistic, but not far enough that it looked weird.

Second, notice that it drags faster depending on how far you stretch it. The speed at which it drags is proportional to the square of the distance stretched. I found that this was much more realistic than making it directly proportional to the stretch. Also, if you only stretch it slightly, it doesn't drag at all (this simulates static friction).

Finally, there's gravity. The gravity isn't strong enough to drag the blob, but it is strong enough to stretch it slightly. When you first create the blob, it bounces slightly as a result of the gravity.


The graphics was probably one of the most interesting parts of writing this program. First I included my Firetools.js library for some simple graphics functions. Then I simply stacked a series of filled translucent circles. I placed the circles on a straight path from the base to the tip of the blob, and determined the size and color using some simple math.

One of the biggest challenges I faced in designing this blob was setting it up to move around the page. It took a long time to figure out how to disable the highlighting of text and the clicking of links below the blob. (For geeks who are interested in my solution, it involved disabling pointer events on the canvas, and using an event listener in the window to turn them back on whenever the mouse was over the blob.)

Overall, I'm really happy with my final result. I hope you enjoy it!


New posts every month - subscribe for free!


Friday, May 20, 2016

Boeing 747 Drawings

I am fascinated by man-made transportation devices. Besides the fact that they can be very advanced technologically, they almost always look really awesome. The ones that fly are the coolest to look at; I love their sleek appearance and clean, smooth colors. It makes them really fun to draw.

In this post, I'm including a two different drawings of a Boeing 747.

One interesting thing about the Boeing 747 is that there isn't only one type. The 747 comes in several variants, each with different dimensions and characteristics. The 747SP is the shortest of the variants, with a length of 185 feet; the longest is the 747-8, with a length of 250 feet. I decided to draw the 747-400, which is 231 feet long.

The first drawing is a sketch I made using a regular graphite pencil. To prepare for my watercolor sketch on special paper, I thought I should make a quick practice sketch first. Once I started sketching I decided to go the whole way and make it good, so my final result actually ended up being somewhat realistic.


Next I used watercolor pencils. This is the first detailed drawing I made using watercolor pencils. It was a neat experience. Watercolor pencils are basically like regular colored pencils, but the pencil lead is water-soluble so the drawings can be smoothed out with water and a paintbrush. The pencil tip can also be moistened, making it like a tiny paintbrush capable of rendering fine details.


New posts every month - subscribe for free!


Tuesday, July 14, 2015

Pluto No Longer on the Horizon

This morning, New Horizons became the first spacecraft to make a flyby observation of the Pluto system. During the mission, the spacecraft captured the most detailed photographs of Pluto's surface we've ever had, and possibly ever will have. It also found many new properties including size, mass, atmosphere, and surface composition.

In a period of a few hours, we discovered more about Pluto than we've found in the 85 years since Clyde Tombaugh captured its first photograph.

Monday, June 8, 2015

CG Earth

Click to view larger

You may have noticed that my blog background changed a couple days ago. I've been meaning to change it for quite a while, but I didn't get around to it. Then, a few days ago, I had some free time on my hands. Why not create a 3D model of Earth, I wondered? So I pulled up Blender (a free computer graphics program I use) and got to work.

Tuesday, February 10, 2015

Perlin Noise

Today I finished a JavaScript program that will generate random numbers, and then use those numbers to generate Perlin noise.

Perlin noise is like a sort of organic randomness. First I'll explain randomness with regards to computing.

Thursday, January 15, 2015

Online Snake Game

This is a simple Snake video game I wrote over the past few days. For the graphics, I used my Firetools.js library, which I also mentioned in my Pong post.

To play the game, use the arrow keys on the keyboard (you might need to click on the game to give it focus). The world loops, so you can go out one side of the screen and come in the other. Eat 50 green pellets to win the game. Each time you eat a pellet, you will get longer and your score will go up; the longer you are, the more points you get for each pellet. If you don't eat enough pellets, you'll begin to starve, and get shorter. Cherries make you longer, but do not prevent starvation.

I did not add the ability to track high scores, but I might add that feature later on. Meanwhile, you can post your scores in the comments. Have fun!

Wednesday, December 31, 2014

Ultra-Macro Photography Upgrade


Some people pay hundreds to be able to photograph tiny subjects such as snowflakes, but now you can do it for $5.

Thursday, December 11, 2014

The Problem with Technology

Glass cellphones... brilliant
About a month and a half ago, an Orbital Sciences rocket exploded during liftoff. Although nobody was injured from the explosion, hundreds of millions of dollars of supplies and equipment were destroyed in a matter of seconds. The fireball, which could be seen for miles, stunned observers; many hadn't even seen a lift-off before, much less an exploding one.

Only three days later, another space-related accident occurred: during a test flight of Virgin Galactic's SpaceShipTwo spacecraft, a premature wing rotation due to pilot error resulted in the destruction of the spacecraft, killing one of the two occupants and severely injuring the other.

Tuesday, December 9, 2014

Internet Pong Game

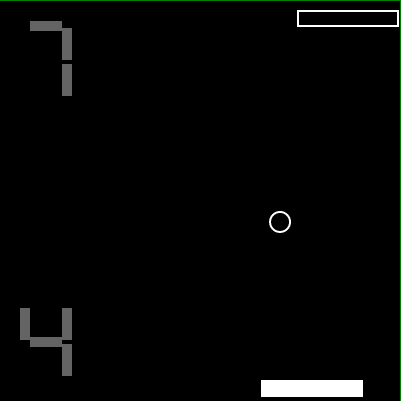
Here's a program I wrote earlier this year in July. It's a two-player pong game that involves communicating over the internet using Firebase. As I wrote this program, I also wrote a JavaScript library to take care of graphics and data communication over the internet. The library took the most work; the pong program just required some math and some creativity to help solve the problems I ran into... such as how the two computers would figure out who gets the top paddle and who gets the bottom paddle.

Friday, May 30, 2014

Did You Know...

I recently added a "Did You Know" app to the sidebar of my blog. The app randomly picks a math/science/technology fact from a list, and displays it. I had to write the app myself (with JavaScript and HTML), because Blogger doesn't have an app like that built-in, and even if it did, I like to have control over my things.

To get technical: the data is stored on Firebase. The app reads the data from Firebase, and adds it all to an array. There is no way to tell how many items there are without reading all of them from Firebase. The app then looks at how many elements are in the array (call that number a) and then randomly chooses a number b from 1 to a. It then takes the bth element from the array, and displays it. (I know, I didn't have to store them all in an array, but it's easier that way.)

Because of the data storage method, I can add new facts very easily: I just have to go to Firebase and add the new fact to the database. Of course, my app updates as soon as I add the new data. I can also set up the app to read data from a different Firebase location, so I can easily have multiple apps with different themes. Here's a screenshot of a Minecraft-themed app, for example:


If anybody is interested in putting a version of the app on their blog, let me know! I'd be happy to set up a version of my app with another theme, such as astronomy, animals, or sports. I can also change the style to make the font pink or green, or give it a purple background, before I send you the code. The possibilities are endless.

To receive updates, subscribe now!

Tuesday, December 31, 2013

Google Earth


Recently, Google released a new map system to allow for a 3D Earth view. The new maps depict Earth as a 3D planet, and allow users to explore mountains and cities in 3D.  At first, Google Earth could be downloaded and installed on a computer, but now it is available at maps.google.com for Google users to use without downloading it.

To try the new maps, sign in to your Google account and go to maps.google.com. In the tab on the left, click "Get it now" where it describes the new Google maps. If you do not see the button, try  typing "new maps" into the search bar and pressing Enter. The "Get it now" button should appear above the results.

My photograph of the Grand Canyon on left, Google Earth's Grand Canyon on right
(same location)

I really like the new maps. Besides being able to explore the Grand Canyon or Mount Everest, I especially like what happens when I zoom out all the way: Earth becomes visible with a lit side and a shadowed side, and the blackness around the planet is filled with stars that correspond to the actual positions of stars in the sky. The dark side of the planet is filled with city lights, just as the real planet would have, and both the light and dark sides of the planet contain clouds in the actual positions of clouds on the real planet. It is amazing.

The lighting of the planet, as well as the position of the sun relative to the other stars, is beautifully accurate. I was very impressed that Google even included the planets in the starry sky.

When I start to zoom in on the planet (using the mouse scroll-wheel), all this changes. The clouds are still there, but the stars disappear and the planet no longer has a dark side. This allows for easier navigation of the globe. The clouds fade away after zooming in further.

At closer zoom levels, finer details are visible. In most places, only the terrain is 3D, and the houses are steam-rolled flat to the ground. In other places, however, Google used a special algorithm using visual data to detect 3D structures such as houses or trees. In these areas, the scenery is much more impressive. It may look like a cheap video game, but when you realize that the houses and trees were built using computer software and photographs, it is very amazing.

Racine, WI, near Lake Michigan; notice the 3D structures
The main problems I found are the following:
1. Sometimes, adjacent satellite images are tinted differently, resulting in a striped landscape
2. The bumps on the ocean floor are treated as mountains, so when viewing the ocean at an angle, it looks bumpy and unrealistic
3. There's no way to hide the labels
4. Countries look the same in Summer as in Winter, even when zoomed out completely

So that's what I have to say about Google Earth. Have anything you'd like to add? Leave a comment!

Wednesday, December 25, 2013

Art Maker Pro

On Khan Academy, a while ago, I wrote a program that would allow users to draw a picture, and then the program would generate another program which they could copy and paste and save. The new program would animate the drawing of the same picture. The program was named "Art Maker".

Recently, I created a new version of my program. The original only allowed for black and white; the new version includes color, as well as a dialog box system which I designed. The program uses only my own code - I didn't borrow anybody else's (as far as I can remember).

To embed the program on my blog, I had to use Khan Academy's script; unfortunately, their script isn't working very well here, so the program is cut off at the edge. You can access the program itself here: https://www.khanacademy.org/cs/art-maker-pro/5733417664643072

I finished the program before Christmas so I could release it for everybody to use on that day... so Merry Christmas!

To use:
* Click Generate to generate a JavaScript with Processing program in the pop-up console. You can copy the program and paste it in the New Program window on Khan Academy.
* Click Undo to undo the last stroke. Click Edit to change the palette.
* Pick a color by clicking the palette.
* Hide the top bar by clicking in the upper-right corner of the canvas; show the bar by clicking in the
* upper-left corner.
* Draw by clicking and dragging. This intentionally does work when the Generate Code dialog window is open. White doubles as an eraser.
* To get past the opening screen, either wait or click somewhere on the canvas.

Keyboard shortcuts:
* Enter: Generate code
* Z: Undo
* E: Edit Palette


Art Maker Pro

Monday, October 14, 2013

Green Alternatives: Are They Really So Green?

The spiral-shaped tube of this compact fluorescent lamp results in a bulb much more compact
than the fluorescent tubes seen in stores - hence the name.
I recently wrote the following essay for school. Because of my school, I haven't had time to post very many things on my blog, but since I wrote this anyway I figured I might as well post it. It's an informative essay formatted MLA style explaining why sometimes green alternatives are not always what they're thought to be.

Tuesday, August 20, 2013

Instant Chat Application

Here's a version of the instant chat system I mentioned in my previous post. It updates in real-time, so unlike most forums, you don't have to reload the page to see new comments.

You can include HTML in the comments, but I disabled the <script> tags because users misused them. I also added a <console> tag and an <incode> tag. To post a comment, either click the button or press the Alt key on your keyboard.

There may or may not be other people on the chat app. If you want to chat with someone, email the link to that person.

If you do not see the app, please click HERE.


Instant Chat Application
Instant Chat System
INITIALIZING...
Name:

Saturday, June 8, 2013

Letter to Astronomy Magazine

I recently sent a letter to Astronomy magazine about one of the articles in the April 2013 issue. The article was titled Astro April Fools and was written by the columnist Bob Berman. I didn't like how lightly Bob treated Y2K, so I wrote the following letter:
I have been a subscriber to Astronomy magazine for about 3 or 4 years, since I was about 12. Probably my favorite part of Astronomy magazine is Bob Berman's Strange Universe. However, in the April 2013 issue, Bob seems to treat Y2K a little too lightly. Although not as bad as advertised, there really were dangers; computers really did fail, and bad things did happen.

Caption:A French sign displaying an inaccurate date because of the Y2K bug.
Image taken from Wikipedia.
Think about a normal computer problem, like the one that happened a few weeks ago: an airline's computers were down for only a couple of hours, but it cost them thousands of dollars. When something like this happens, the computer can be reset; once the bad data is gone, everything goes back to normal. Reseting a computer wouldn't work in the Y2K scenario. The date is the bad data, and restarting the computer doesn't help with that. Instead of computers being down for a couple of hours, they could be down for a couple of days.

Why did so little happen during Y2K, then? The bug was more widely advertised than any other in the history of computing. Software companies received worried phone calls from airliners and many other companies asking about the problem; so realizing the danger, they hired whole teams of programmers to ensure nothing happened when we time-warped.

However, not everybody took action, so some bad things did happen as direct results of Y2K bugs. Down's syndrome test results were inaccurate, resulting in 2 abortions after false positives. Radiation-monitoring equipment in Japan failed. An alarm sounded in a nuclear power plant. Not so bad; but that was after preparation. What would have happened had we ignored it?

Tuesday, April 23, 2013

Halbach Array

Yesterday I learned about something really cool called a Halbach array. It's a special arrangement of magnets that has a magnetic field on one side, but not the other.

The array and its effect were discovered in 1973 by John C. Mallinson, but it was named after physicist Klaus Halbach, who invented the array 7 years later - not knowing someone else had already gone to the trouble.

Halbach array, showing approximate field lines.
The way the Halbach array works is similar to a bunch of lined up horseshoe magnets. There are North and South poles, but they are all on the same side of the row. Horseshoe magnets are clumsy, so in the Halbach array, regular bar magnets are used instead. The magnets are oriented so that their magnetic fields match those of the horseshoe magnets they're replacing; that way, the effect is nearly the same.

A perfect Halbach array is only magnetic on one side, greatly reducing stray magnetic fields that can interfere with other equipment; and since the magnetic field is all on the same side, it is twice as strong as a regular magnet's field. Because of those properties, Halbach arrays are useful in a variety of applications, including:
  • Refrigerator magnets
  • Inductrack Maglev train system
  • Particle accelerators
  • Free electron lasers
Then there's the Halbach cylinder, where the magnetic field is in a bore down the center, and the Halbach sphere, where the magnetic field is in an empty spot inside the sphere. They aren't as simple as the array, so I won't explain them in this post.

Friday, December 7, 2012

Night Turns to Noon


You might want to check out my Blue Moon post before you read this one.

It was late at night. The full moon lay high in the starry sky. Suddenly, everything started getting brighter and brighter, until the moon was as bright as the sun, and everything looked the way it does in the middle of the day - except for the glaring light pollution and the burning stars. Astounded, I pulled out a camera and snapped the photo above, and some others you can see in my Blue Moon post. About an hour later, everything went back to normal.

Does that sound like a true story? Well, it isn't; that night was just like any other. To take the photos, I used a trick that I will explain in this post.

When a digital camera takes a photo, this is what happens: a shutter on the front opens up, and a lens focuses light onto a tiny charge-coupled device (CCD) inside the camera. When the light hits the CCD, a small electric charge becomes present. As more and more light hits that part of the CCD, the charge gets stronger and stronger. Different parts of the CCD have different charges, depending on how much light they get.

After a certain amount of time, called the exposure time, the shutter closes, and the camera converts all those charges on the CCD into an image. The bright parts of the image correspond with stronger charges on the CCD, and vice versa.

Now let's go back to the photo I took in the moonlight. Since it was dark outside, the charge on the CCD would have been very weak, resulting in a dark image. But what if there were a way to make the charge stronger? Then I would have a much brighter image; if things worked well, the image might look as if it were taken during the day.


The trick is simple: change the exposure time. If you set the exposure time higher, then the shutter will stay open longer; the charge on the CCD will be much stronger, and you will have a much brighter image. That's what I did, and the results (not to mention the bragging rights) are certainly worth the time.


Hopefully this post explained some things about cameras and tricks. If you can remember what I said, and can put it into practice, you're well on you're way to becoming an expert photographer. Finally, here's a tip: if you're trying to take a "daylight" photo, don't let any houselights get in the picture. They'll get brighter too, just like everything else.

The video above shows a series of photos taken with different exposure times.
The first photo has the shortest exposure time, and the last one has the longest.

Friday, August 17, 2012

How I Got Blender


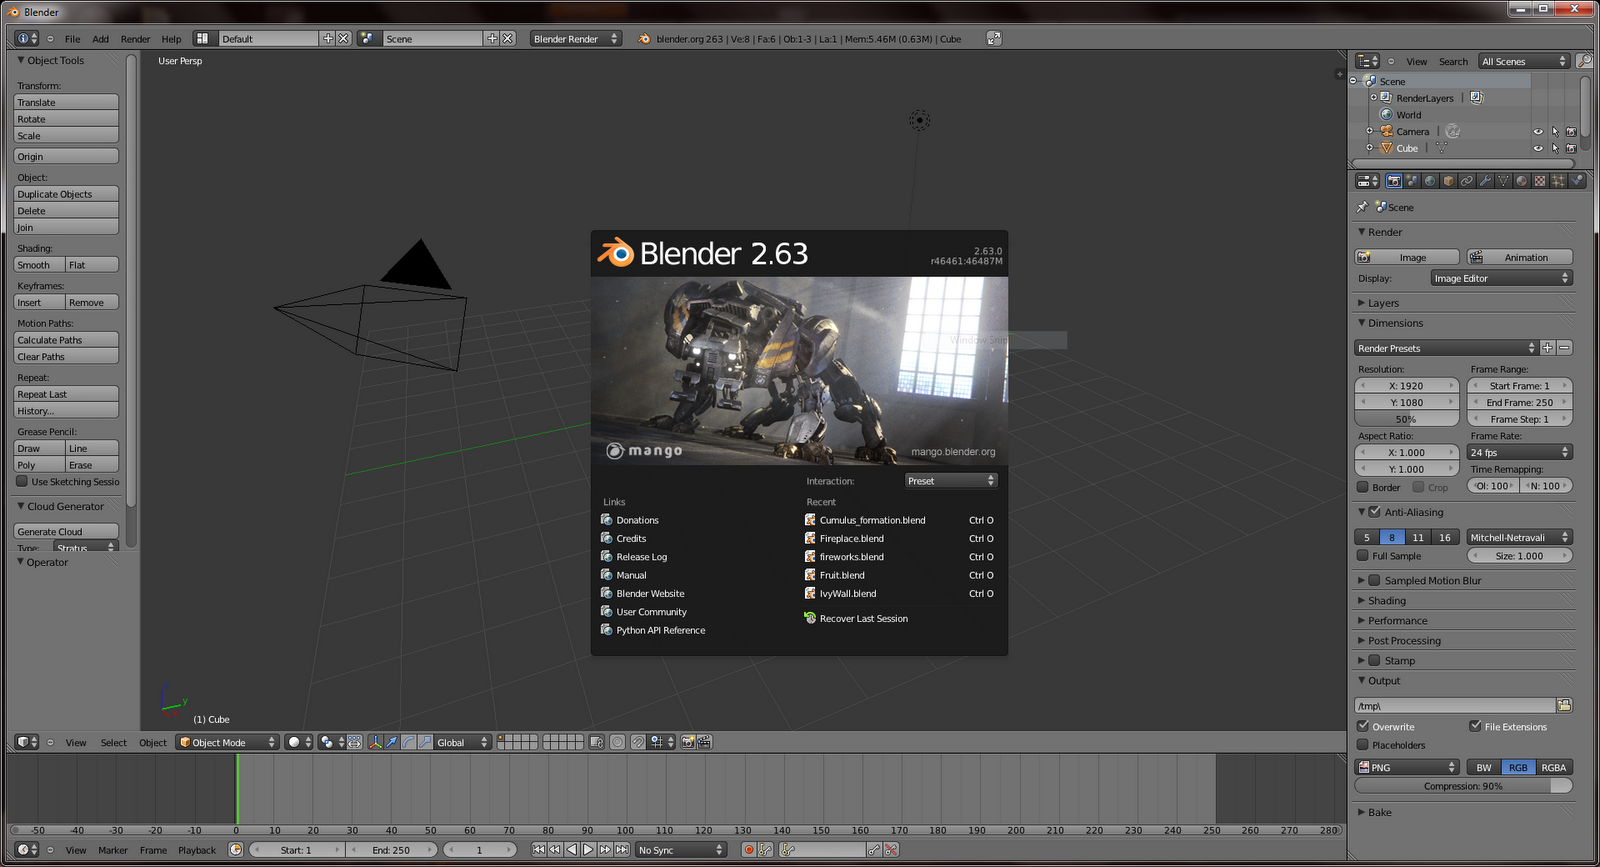
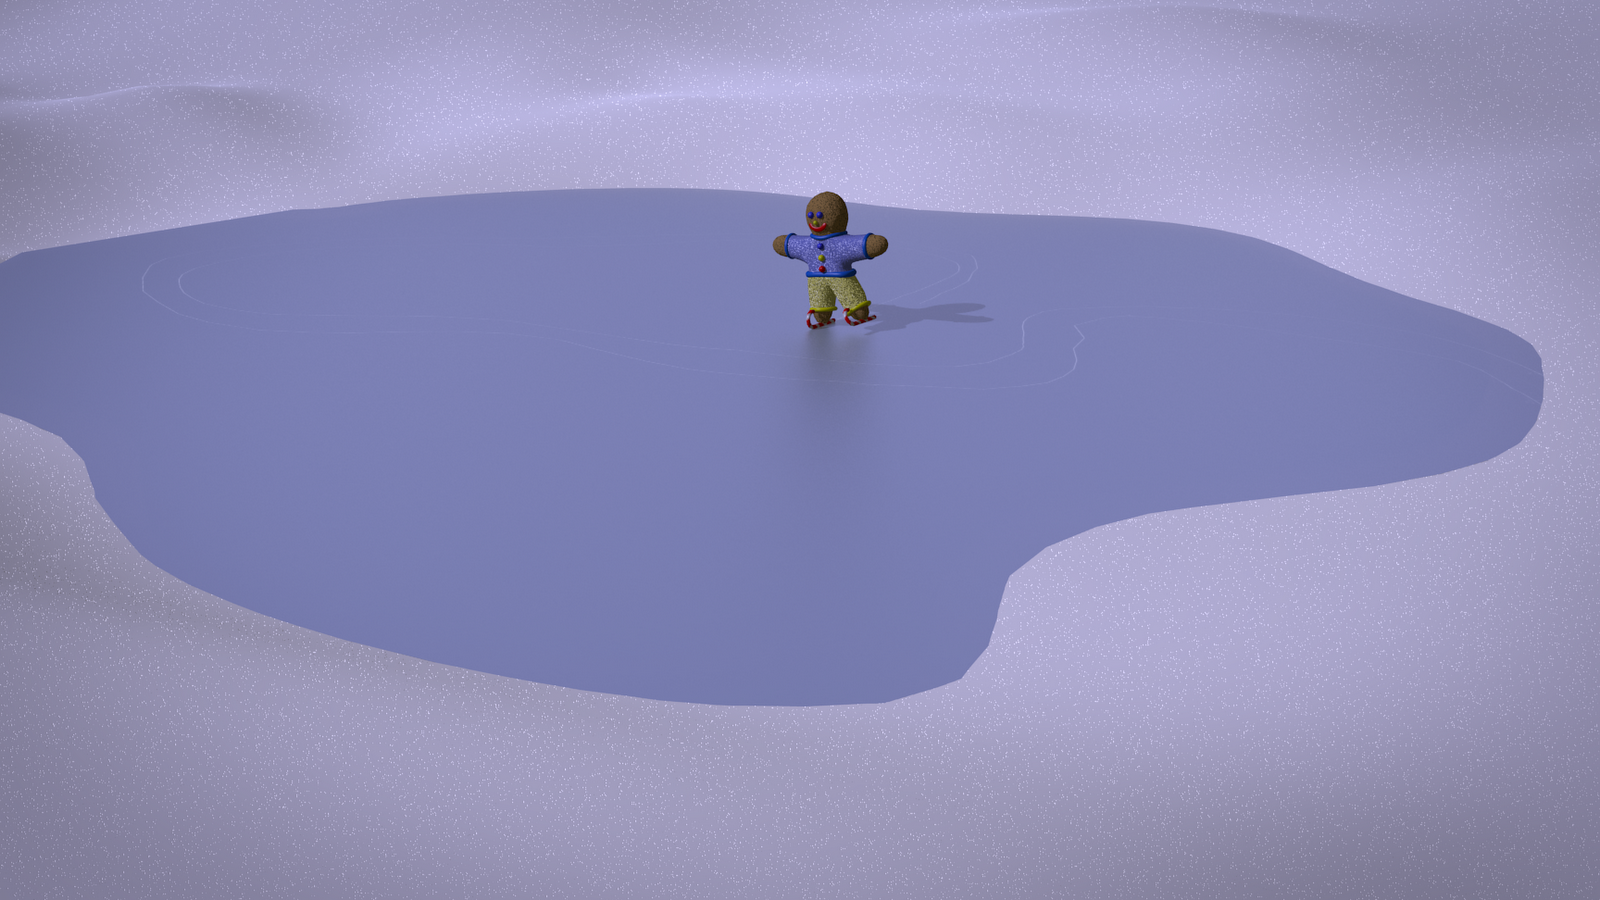
In a couple of my posts, you may notice some computer generated images or animations. They were created with Blender. In this post, I'll explain how I got it and started using it.

A long time ago, I wrote a BASIC program that drew a circle; the user would give the program a number, and it would draw a circle that size. There was a problem, though: the circle had a lot of holes in it. I solved the problem by filling the circle, but that was like cheating. I told my dad about the problem, and he showed me a book about graphics.

I looked through the book, but didn't find anything about my problem. I did find a section with nice, colorful computer-generated images, however - and some were so good they looked like photos! At one point, there was a series showing the construction of a photo-realistic image of a room, starting with the edges, then moving on to the surfaces, texturing, lighting, etc. Here's a similar series I made using Blender (but not photo-realistic):
Edges
Surfaces
Color
Lighting
Bump-Mapping, Reflections, Specularity, and Compositing
It looked so simple, I was hooked. I had to make my own computer-generated image that looked like a photo. I asked my dad to get me some software for 3D animations, so he searched on Google and found Blender. It looked like fun, and it was free, so we got it.

I followed some video tutorials I found on blender.org to make some nice images, and then I started making my own stuff. It was a lot of fun. I raved about it to my sister, but she just got sick of it and hated to even hear the name "Blender." Eventually, though, I convinced her to take a tutorial and make some balloons, and now she uses it to create images, like me. She uses it for art, but I also use it to show people how things work.

So that's how I got Blender. If you're interested in trying it out, just go to the download page on blender.org, and download it. Maybe you'll find it as fun and useful as I do.